We may earn revenue from the products available on this page and participate in affiliate programs. Learn more ›
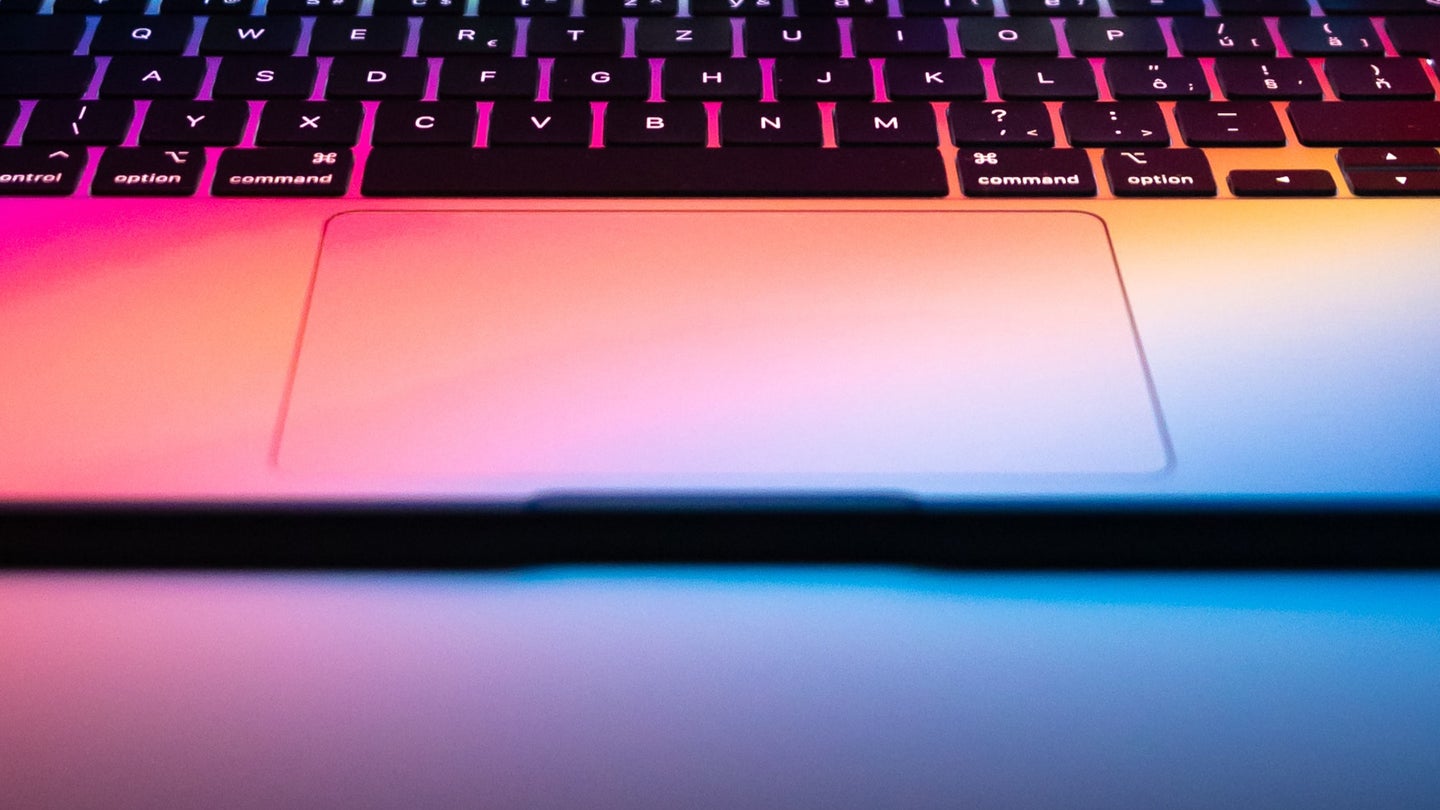
If you own an Apple MacBook, then the built-in trackpad might be your way of doing just about everything except typing. It’s an essential input device for your laptop, so you’ll need to know how to make the best of it.
Not only are there a ton of configuration options to personalize the gestures you use with your MacBook trackpad, but there are also third-party apps to help you do more clicking, selecting, zooming, and scrolling.
Get to know the trackpad settings in macOS
You can find the trackpad settings in macOS by opening System Settings and then scrolling down the sidebar all the way to the bottom to select Trackpad. The first tab, Point & Click, lets you adjust how fast the cursor moves across the screen (from Slow to Fast) and how hard you have to press the trackpad for the computer to register it as a click (from Light to Firm).
If you have a MacBook made in 2015 or later, you have a Force Touch trackpad that features Force Click and haptic feedback. This means you can firmly press and hold on the trackpad to trigger certain actions, such as previewing an address in Maps or the attachments in Messages. For most of these features you’ll also need to enable Look up & data detectors, but you can leave Force Click off and use a three-finger click to look up information instead. You can check out more examples of how this feature works on Apple’s website.
[Related: Apple MacBook Air M2 review: Semi-pro]
Next is Secondary click, also known as right-click: You can turn this off completely or choose to enable it with a two-finger click, or a click on one of the bottom corners of the trackpad. The final option on this screen, Tap to click, means you can register a click with a light tap on the trackpad rather than a full press.
Switch to the Scroll & Zoom tab and you can set which direction the screen scrolls when you move two fingers up or down the trackpad (Natural scrolling), enable a pinch with two fingers to make things on screen appear larger (Zoom in or out), enable a two-finger double-tap for a quick zoom in or out (Smart Zoom), and enable the ability to rotate objects with two fingers (Rotate). Hover over any option to see a preview of how it works at the top of the dialog box.
Lastly, there’s the More Gestures tab, which offers a total of seven different gestures you can enable. Some of these just have a simple switch you can toggle to turn them on and off, with the gesture action explained underneath, while others have a drop-down menu where you can pick the gesture you want to trigger the action.
For example, turn on the Notification Center toggle switch and you’ll be able to swipe left from the right edge of the screen with two fingers. Meanwhile, for the Swipe between full-screen applications gesture, you can choose to do this by swiping left or right with either three fingers or four fingers on the trackpad. Or you can turn the gesture off completely.
Customize your MacBook’s trackpad gestures with third-party apps
Besides the options built into macOS, you can enlist the help of various third-party apps to customize the trackpad and its gestures even further.
One such app is BetterTouchTool, which will set you back $10 with two years worth of updates, or $22 with updates for life. There’s also a 45-day free trial you can use to see if you like the software before you part with your money.
The program covers a whole host of customizations you can do on your Mac, but pick Trackpad from the menu at the top to start building your own personalized gestures.
[Related: Apple now offers the MacBook Pro and Mac Mini with M2 chips inside]
First, click the + (plus) icon underneath Groups & Top Level Triggers, and pick your gesture—you can do something like 3 Finger Double-Tap or whatever else you want to do with your fingers to trigger the action. You can also combine a keyboard shortcut if you want, and choose whether macOS acknowledges the trigger with a visual alert.
Then, click the + (plus) icon underneath Actions Assigned to Selected Trigger. This determines what happens next: you can choose from a long list of supported actions, including app navigation, window resizing, and system actions such as powering down the Mac. Once you pick the one you want, your gesture will be ready to use.
Another trackpad app worth checking out is Swish which you can test for free for 14 days before having to pay $16 to keep using it. Unfortunately, this app doesn’t allow you to create your own gestures but comes with a list of custom ones that expands on the built-in trackpad functionality in lots of new and useful ways. You’ll be able to maximize and minimize windows, snap them to a grid on screen, move open windows between different monitors, or quickly view the desktop by minimizing every currently open window.
You can see the various supported gestures by going down the navigation pane on the left of the app interface: General, Windows, Snapping, Apps, Menubar, and Advanced. Swish also has a few other interesting settings you might want to turn on, like setting up a modifier key on your keyboard to enable gestures.
The post Your Mac’s trackpad doesn’t have to be basic. Here’s how to customize it. appeared first on Popular Science.
Articles may contain affiliate links which enable us to share in the revenue of any purchases made.
from | Popular Science https://ift.tt/8lTi1gh


0 Comments