There are all kinds of reasons why you might want to extract text out of images. Maybe you’ve taken photos of restaurant bills and you want to make a record of what you’ve eaten; or perhaps you’ve got a bunch of screenshots that you need to get product names out of; or you could have scanned in some important documents that need sorting.
Whatever the reason, Windows comes with built-in tools for picking out text from image files (technically known as OCR, or Optical Character Recognition)—in fact, there are several different ways, so you can pick the one that suits you best. Here’s how to get started, assuming you already have your images saved somewhere.
Using the Snipping Tool

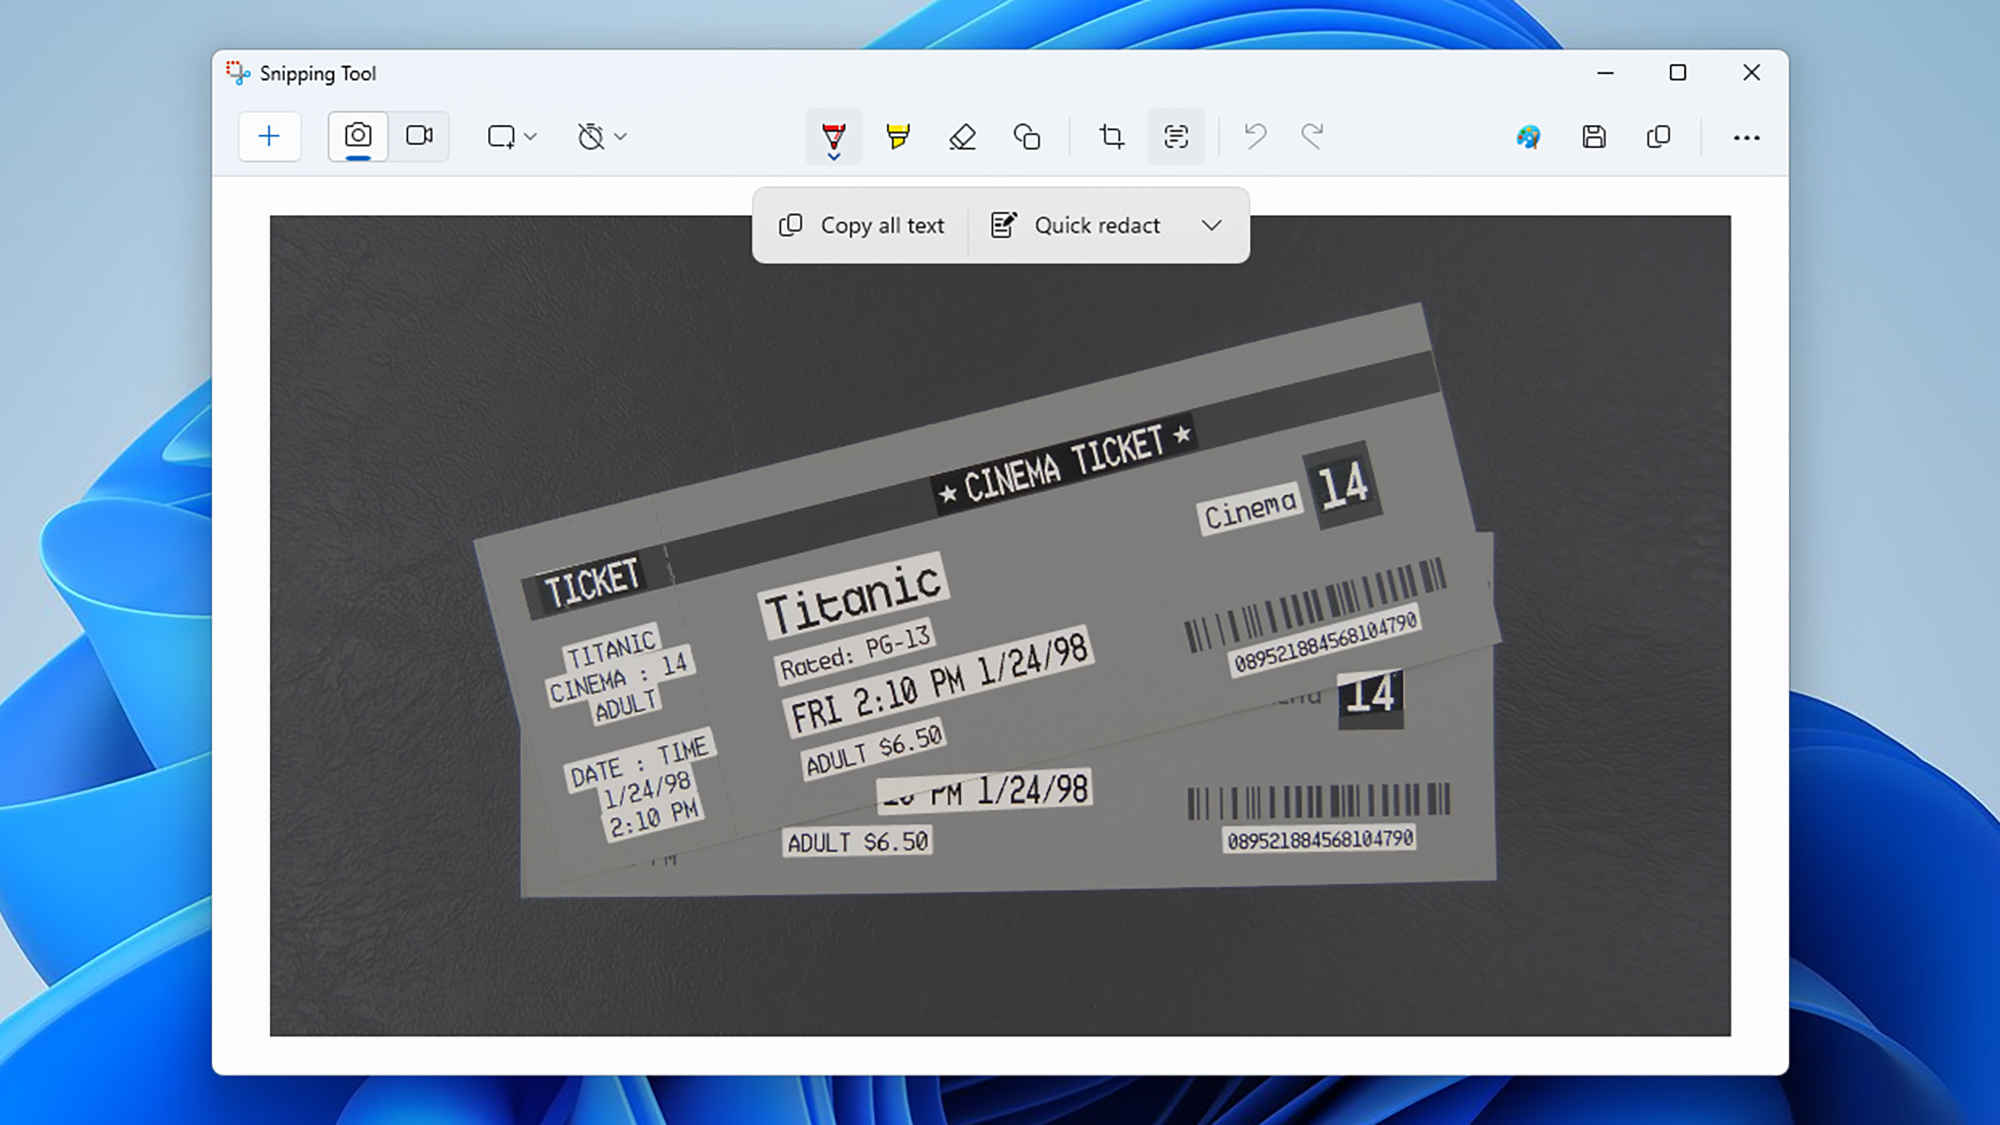
The Snipping Tool is the easiest way to extract text from images on Windows. You can launch the utility from the Start menu, either by searching for it or by finding it on the full list of apps. Once you’ve got the program open, click the three dots (top right), choose Open file, and pick the image you want to work with.
With the image on screen, click the Text actions button on the toolbar—it looks like a series of lines with a frame around it. After a few moments of thinking, you’ll see the Snipping Tool highlight all of the text in the image, while the rest of the picture fades out.
You’ve got a couple of options here: You can click and drag across any of the highlighted text to select it, and then copy it to the clipboard (and from there to another app): So you could, for example, drag the cursor across an address in an image, then press Ctrl+C to send it to the keyboard, and Ctrl+V to paste it into another Windows program.
Your other option is to click the Copy all text button on the toolbar at the top—this sends all the text in the picture to the clipboard, so you don’t need to spend time selecting it all manually. Use the arrow next to Quick redact on the toolbar to to exclude email addresses and phone numbers from the selection.
When you’re done with your text manipulations, you can click the Text actions button again to remove the highlighting and go back to the normal editing view. All of these actions are available when you capture a screenshot with the Snipping Tool too—so you could, for example, grab a screenshot of a webpage, then extract all the text from it.
Other Windows options

The Snipping Tool can take care of most of your OCR needs on Windows, but it’s not the only option available to you. Microsoft has put a similar set of text extraction features in two of its other programs, and while you will have to download these separately, they won’t cost you anything to use.
First up there’s OneNote, which you can download. It’s a comprehensive note-taking and organization tool, which you can use to bring together text, images, web links and drawings in digital collections called notebooks. To drop an image into a notebook, click Insert > Pictures on the toolbar, or paste something from the clipboard.
Extracting text from an image is then as simple as right-clicking on it, then choosing Copy Text from Picture. All of the text detected in the image is sent to the clipboard, and you can paste it into another app with Ctrl+V (you can’t select specific parts of the text in the image, but you can once you’ve pasted it somewhere else).
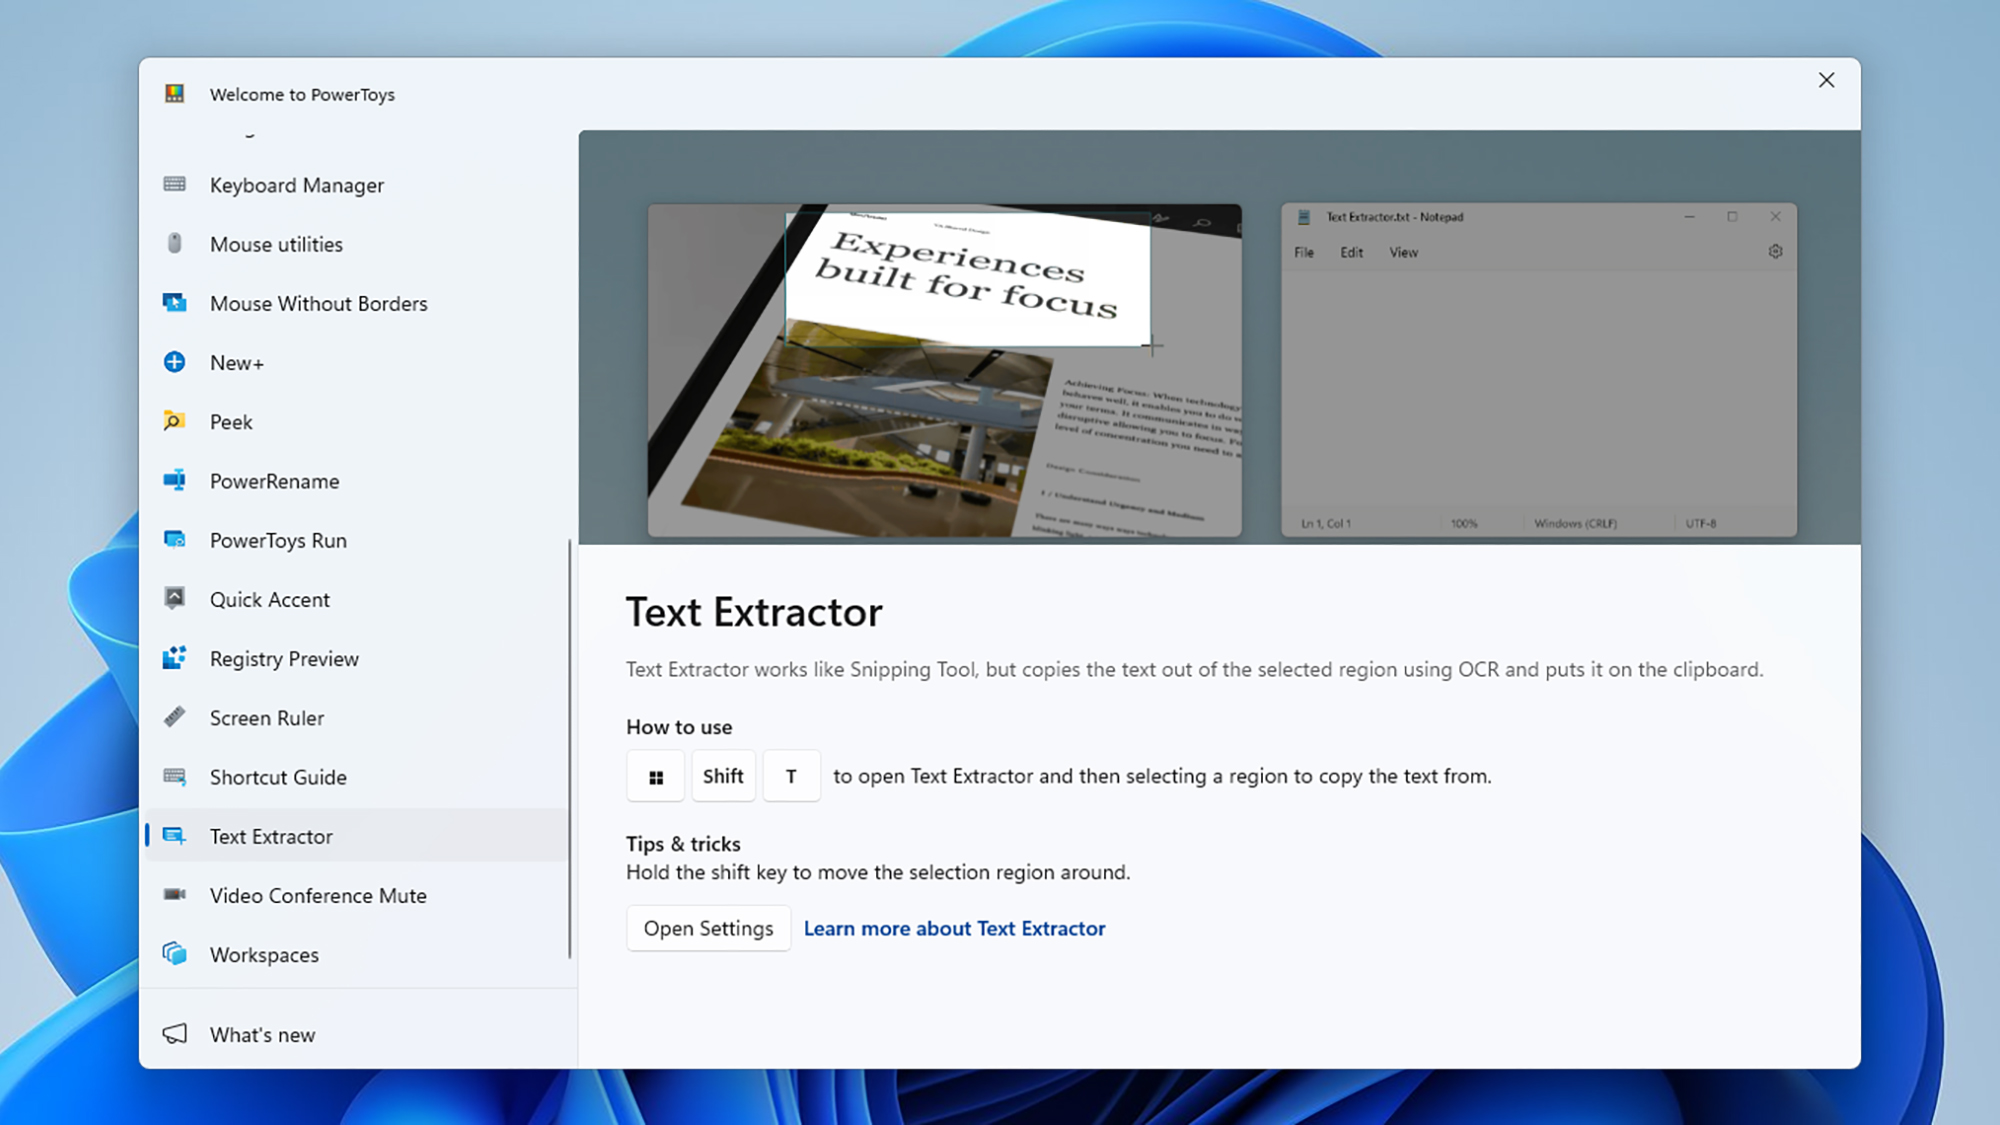
Second, you’ve got PowerToys, which is a suite of Windows utilities that Microsoft releases separately from the main operating system: You can download the package for free. Once you’ve installed and launched the PowerToys program, there’s a list of utilities on the left: Click Text Extractor to see the keyboard shortcut for the tool, and instructions for how to use it.
By default, the shortcut key is Win+Shift+T. Press this with any kind of image on screen, and you can drag out a selection window: Anything within this window that PowerToys Text Extractor identifies as text will be instantly converted and copied to the keyboard. Again, you can tap Ctrl+V in another app to paste the copied text. It’s not the most sophisticated of solutions, but it does the job.
The post How to read text from images on Windows appeared first on Popular Science.
from Popular Science https://ift.tt/w1Jca4L


0 Comments